
DIY Screen Printing: A Beginner’s Guide to Custom Apparel


Getting Started with Screen Printing
Screen printing, also known as silk screening, is a versatile and popular method for creating custom apparel. Whether you want to create unique designs for personal use or start a small business, screen printing can be an exciting and rewarding hobby. This guide aims to help beginners navigate the basics of DIY screen printing.
First, let's understand the materials you will need. The essentials include a screen, a squeegee, screen printing ink, and a design stencil. These components will allow you to transfer your design onto fabric with ease. Additionally, you'll need an appropriate workspace, preferably with good ventilation and easy clean-up options.
Creating Your Design
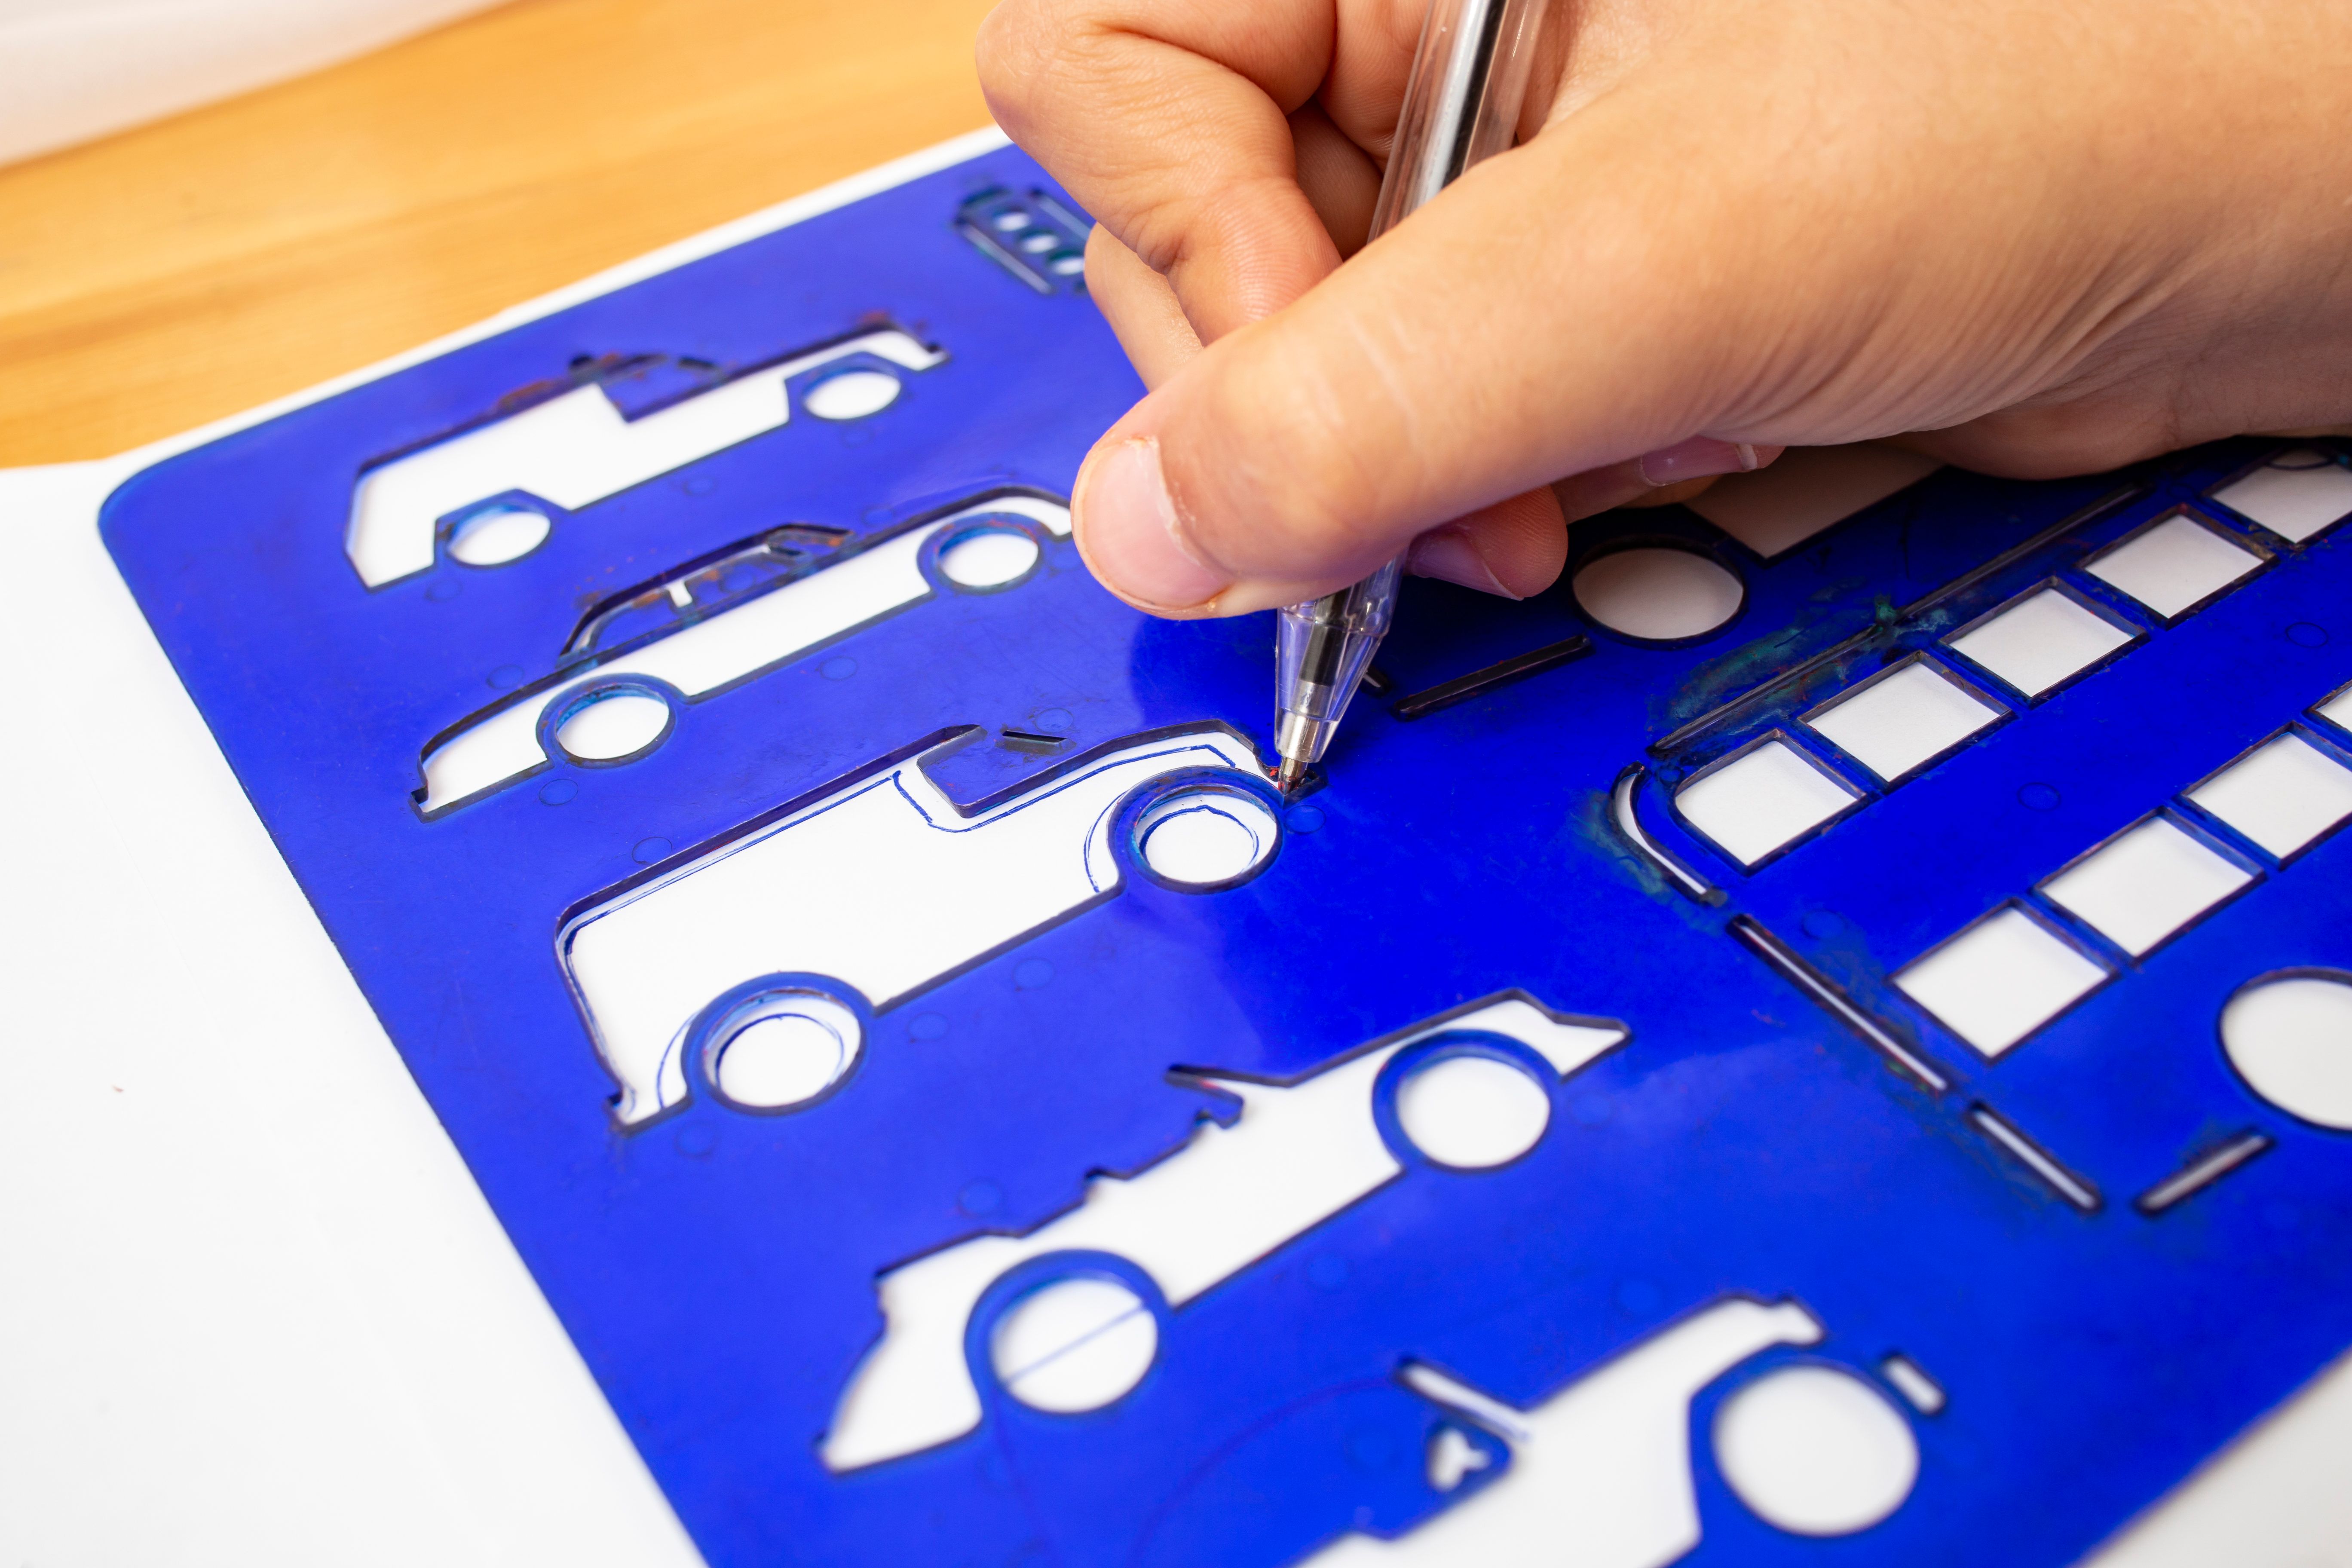
Before you start printing, you'll need a design. You can create your own using graphic design software or choose pre-made templates available online. Ensure your design is clear and bold, as intricate details might not transfer well in the screen printing process. Once you have your design, it's time to create a stencil using photo emulsion or a cut-out method.
The photo emulsion technique is popular for its precision. It involves coating the screen with a light-sensitive emulsion and allowing it to dry in a dark environment. Once dried, place your design on the screen and expose it to light. The areas blocked by the design remain soft and can be washed away, creating your stencil.
Preparing the Screen
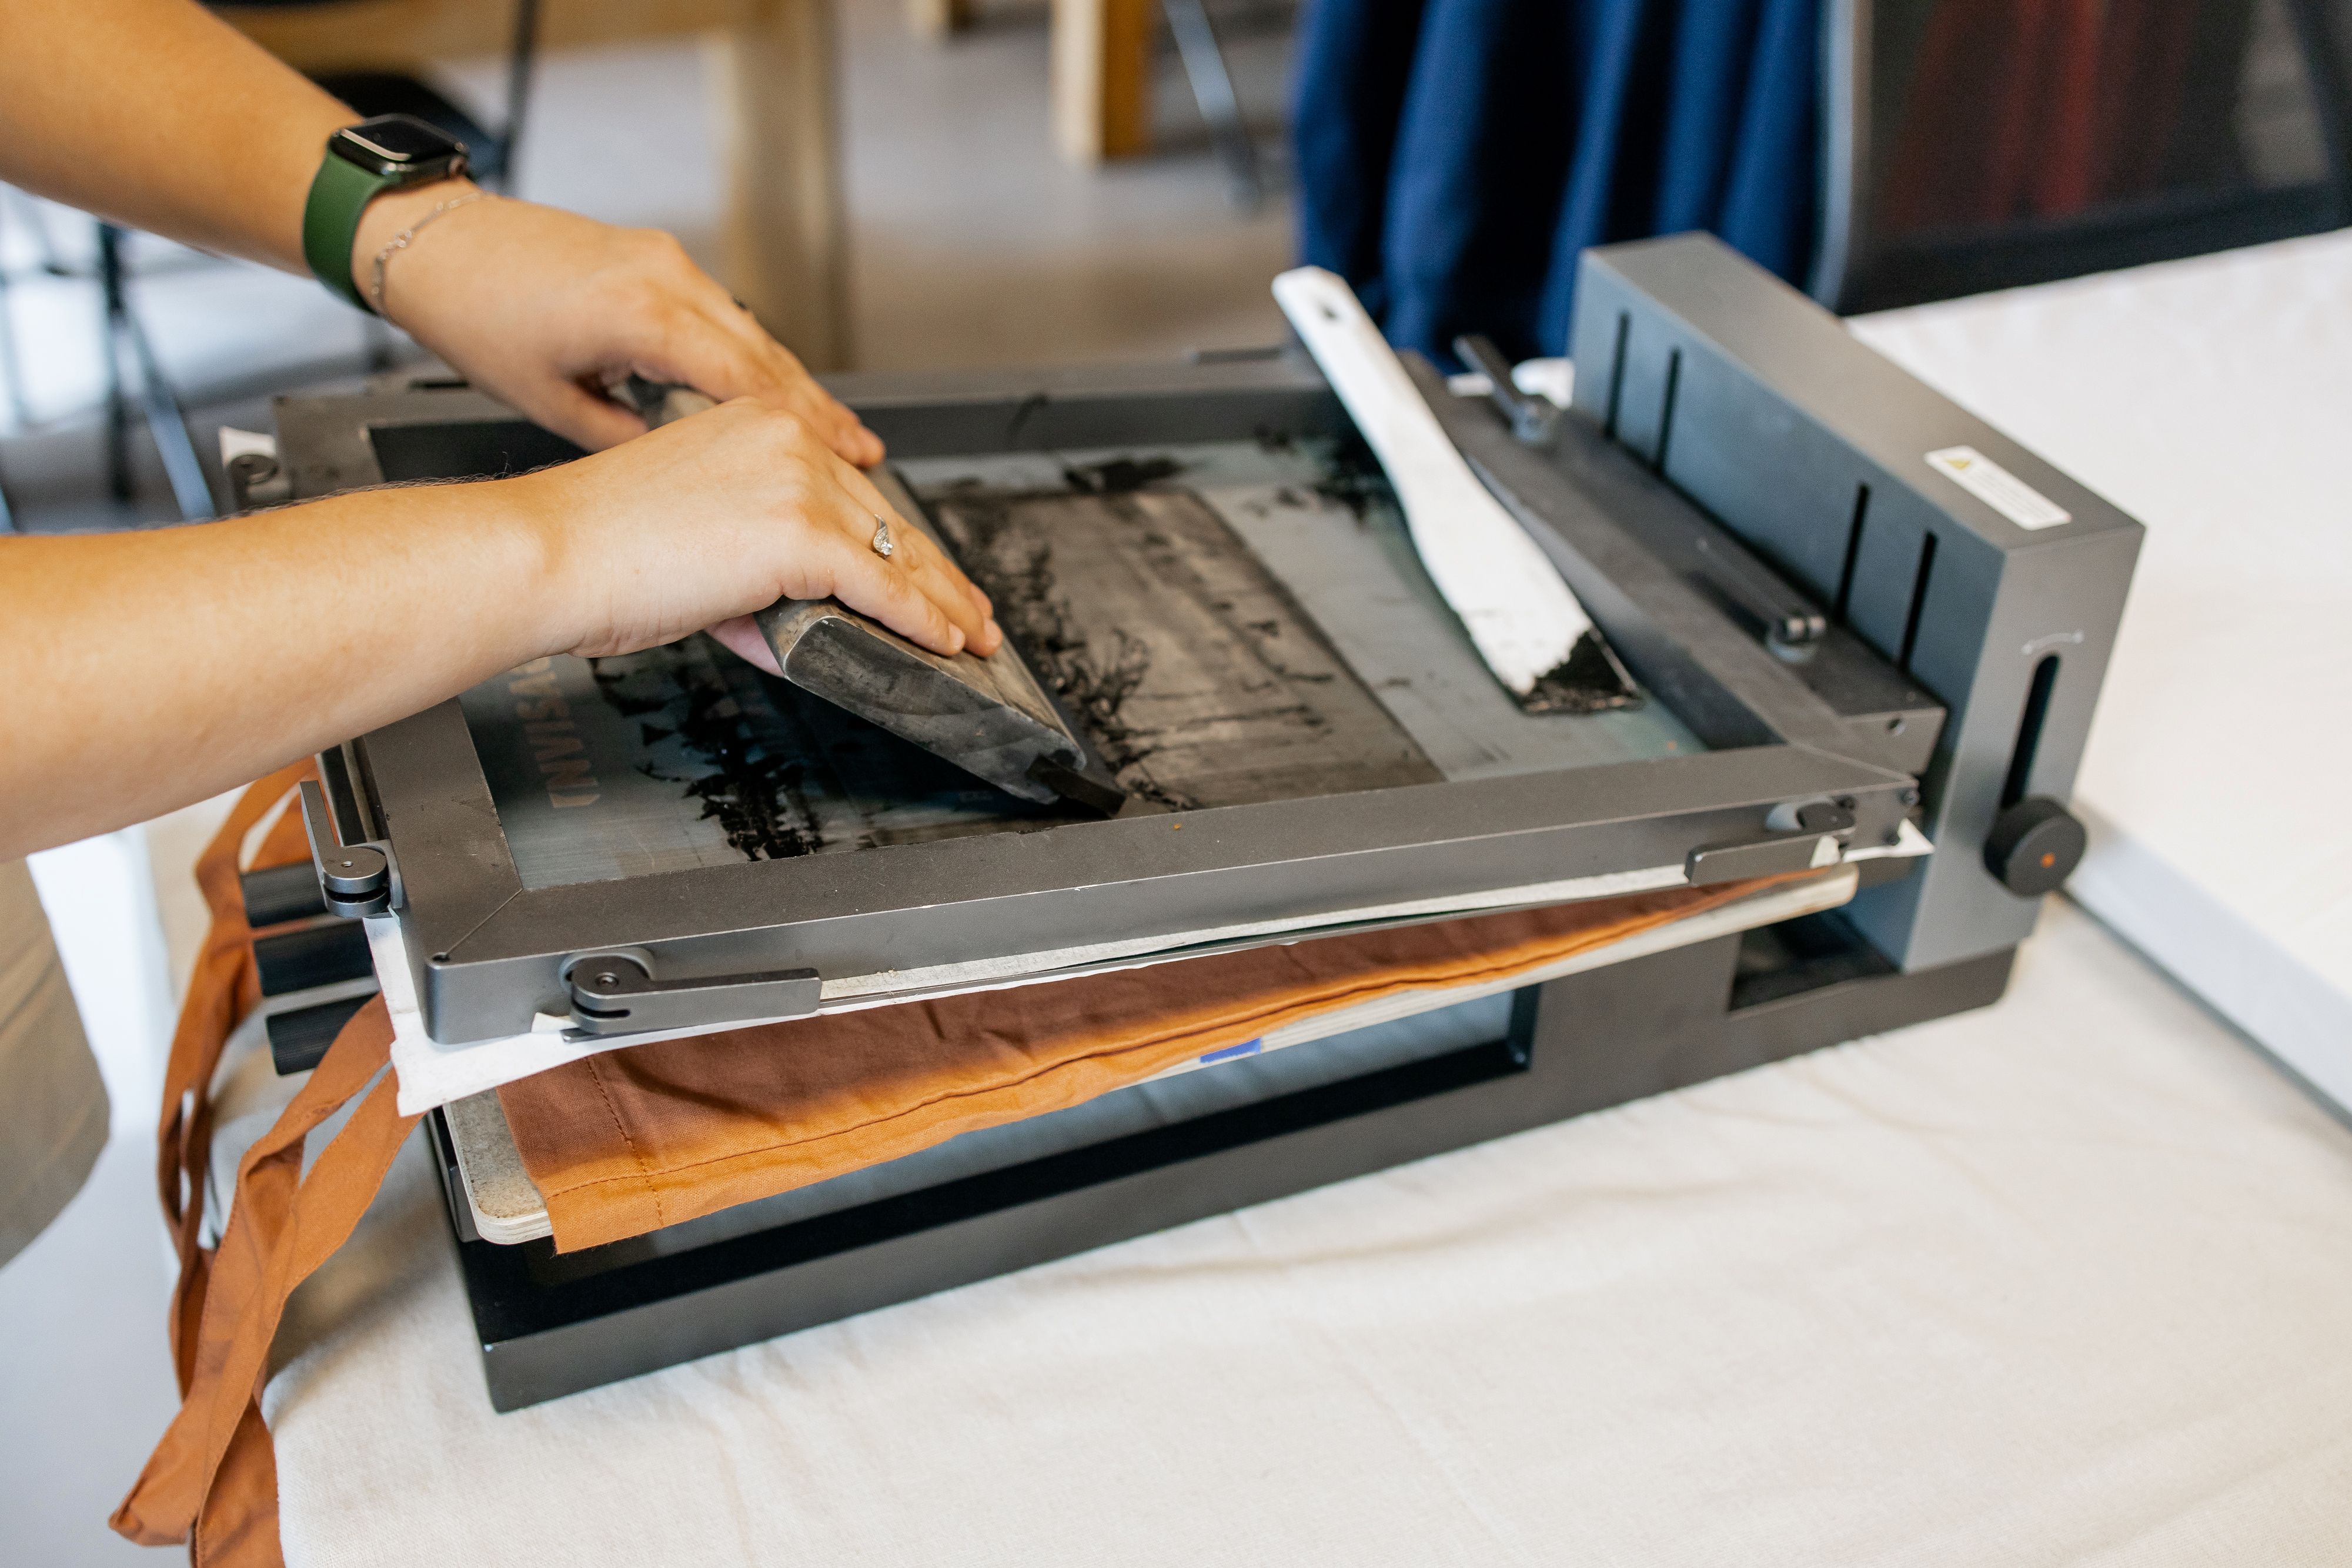
With your stencil ready, it's time to prepare the screen. Secure the screen tightly to a frame and ensure it's taut. This will prevent any ink leakage and ensure a clean print. Position your garment on a flat surface, and place the screen over it, aligning the stencil with your intended print location.
Next, scoop a generous amount of screen printing ink onto the screen. Using a squeegee, spread the ink evenly across the stencil. Apply firm, even pressure to ensure the ink passes through the screen and onto the fabric below.
Finalizing Your Print
Once the ink is applied, carefully lift the screen off the fabric. Allow the print to dry completely, which may take several hours depending on the ink and fabric used. For increased durability, heat-set the print using an iron or a heat press if available. This step is crucial for ensuring the longevity of your custom design.
Screen printing can be a bit messy, so it's essential to clean your tools immediately after use. Wash the screen and squeegee with water and mild soap to remove any residual ink. Proper maintenance will prolong the life of your equipment and ensure crisp prints in the future.
Expanding Your Skills
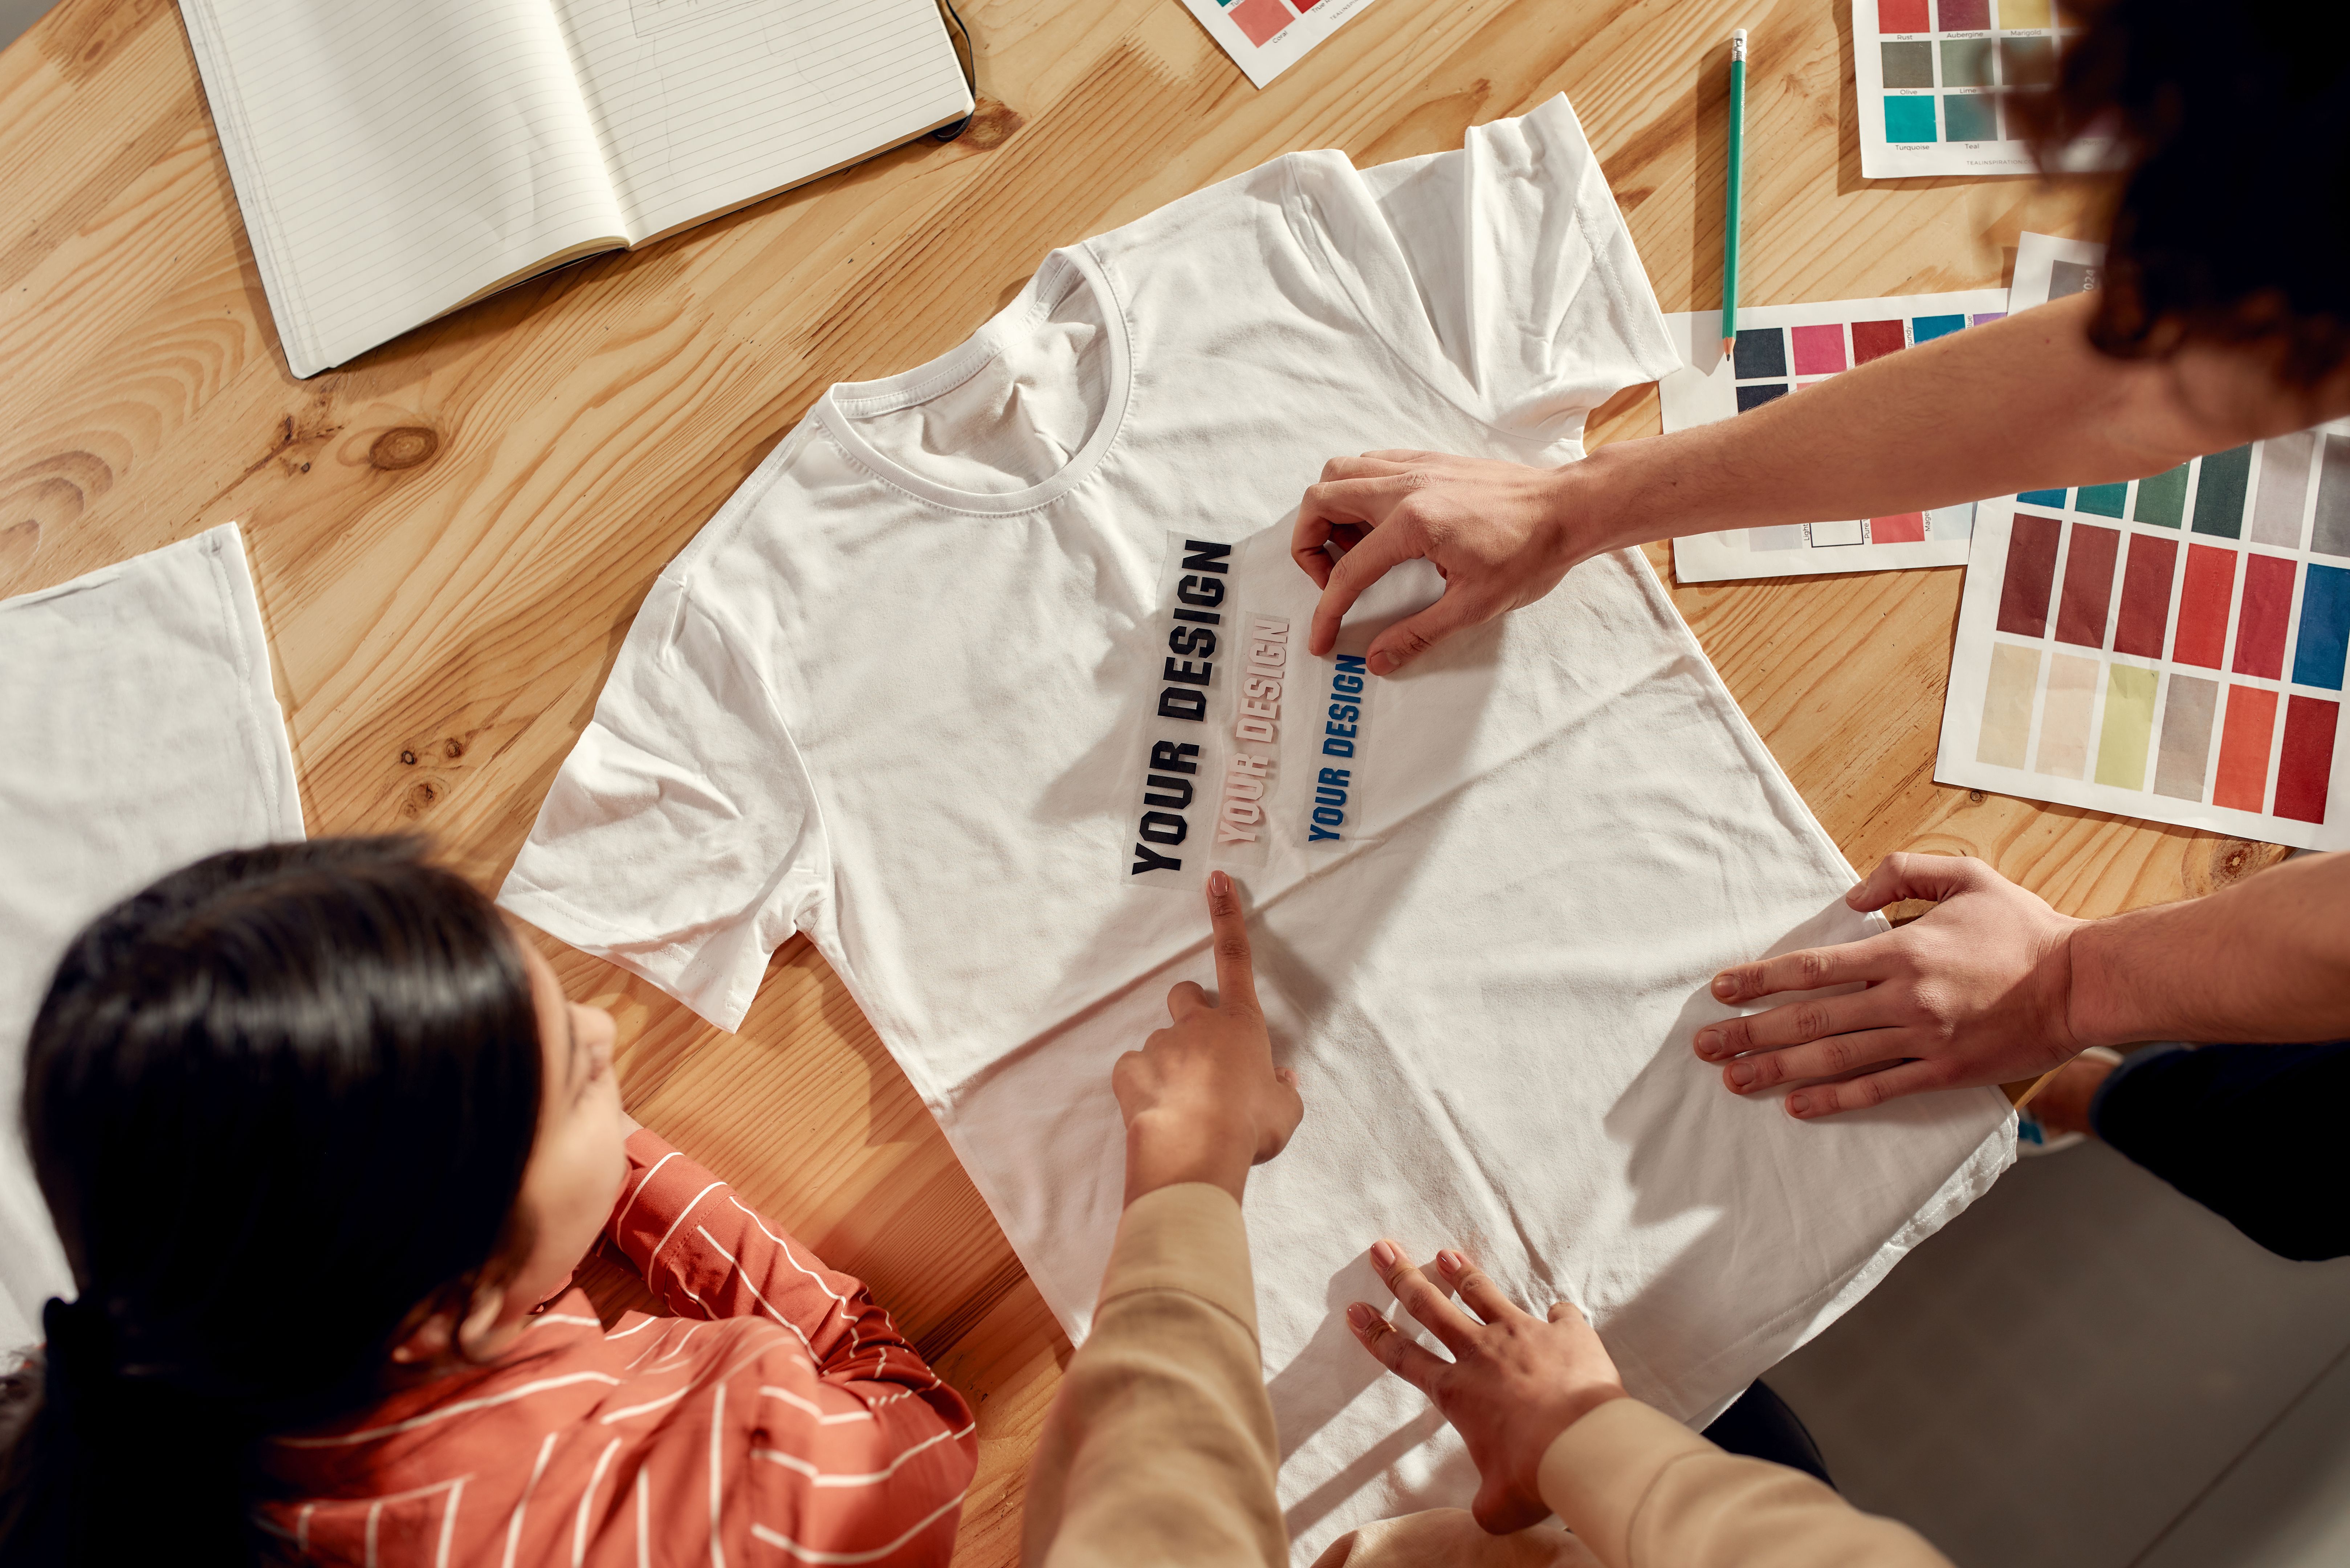
As you become more comfortable with the basics, you might want to experiment with different techniques and materials. Try using multiple colors or layering designs to create unique effects. You can also explore printing on various types of fabric or other surfaces like paper and wood. The possibilities with screen printing are virtually endless.
Screen printing is not only a practical skill but also a creative outlet that allows you to express yourself through custom apparel. With practice and patience, you can master this craft and produce professional-quality prints right from your own home.
So gather your materials, set up your workspace, and start creating your own personalized designs. With this beginner’s guide, you’re well on your way to mastering the art of DIY screen printing. Happy printing!